Crop & Edit Photos with the Photos App

The Photos app includes significant photo editing capabilities that allows you to edit and modify a photo in your library. Here is a list of functions:
- Auto Enhance will automatically inhance/improve exposure and lighting
- Remove Red-Eye to remove red eyes when flash is used.
- Crop a photo
- Rotate or tilt a photo
- Filters to apply different color/light effects, for example, turn a photo to black and white.
- Make light and color adjustments.
- Write on a photo.
- Add text to a photo for a title or label
This recipe will lead you on a tour of the Photos app and these features.
Access the Edit function in the Photo app with the following steps:
- Tap Photos to launch the Photos app.
- Display the photo you wish to edit. If you need to search for your photo, see Nugget N26 Tips and Tools for Finding Photos
- Tap Edit on the upper bar of the Photo display

The photo Editor is display on the screen. Use the diagram to find the following functions:

Access the multiple functions of the photo editor with the following icons.
1 Auto-enhance. Tap Auto-enhance to add more life to your photos. The changes are often subtle but can correct color and saturation to make photos more real looking.
2 Red-Eye Reduction – The icon only appears with photos that have used flash. The Red-Eye icon only appears in photos that used flash. Tap the Red-Eye icon and tap each red eye to add correction to the area. If the change didn’t work to your liking, tape the eye again to remove the change.
3. Rotate & Crop. Tap Rotate/Crop to access the tools. You are presented with two options for rotating the picture.

A. Rotate the photo 90 degrees counterclockwise. This is a standard rotation to change the orientation of the photo.
B. Drag the arrow to to rotate your photos any amount. Use this to simply tilt the photo.
C. Crop the photo by dragging the corners to frame the image you desire. You can move all four corners.
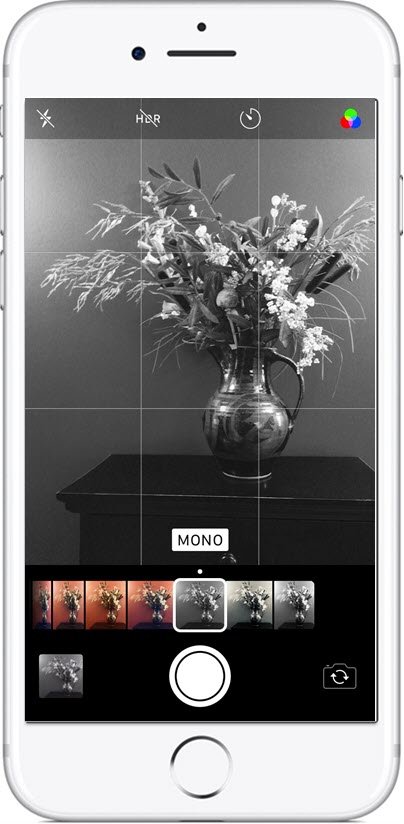
4. Filters. Tap Filters to add a color effect. A common effect would be to convert the photo to a black and white image.
5 Light & Color Adjustments. Change the lighting and make color adjustments .
6. More – Markup Access the More icon (3 dots in a circle) to add text or mark up a photo.
Here are the steps after tapping More.
Tap Markup (pen in a circle)
You are now presented pen tools that you can use to draw on the photo. Tap the Color icon to change the color.

This information was previously covered in Nugget N4 Write or Draw in the Notes App.
If you want to place text on the Photo, tap the Circle + icon
Tap Text
Your are presented with the text markup tools

Text Markup Tools
Tap Color to change the color
Tap Font to change the Font size, style and alignment
Double Tap the Text Box to change the text.
Tap Undo to undo the last actions.
7. Tap Done to save your edits. Your changes are saved but you can also revert your photo back to the origina. See below.
8. Tap Cancel to discard the changes you have made to the photo.
Revert to Original
The edits that you make on a photo are non-destructive in that you can revert back to the original image with the following actions:
- In the Photos app, tap the edited image that you want to revert.
- Tap Edit.
- Tap Revert.
- In the pop-up menu, tap Revert to Original.
Check for Understanding
Use the following questions to determine if you need to read or study this recipe. You might already have an understanding of this topic. Following your study, answer the same questions to help you check your understanding of the skills taught in this lesson.
- Can you explain the steps to access the edit functions of the Photos app.
- How do your crop a photo?
- Can you change a photo to black and white?
- How do you add text to the photo?
Additional Information
The Senior Tech Club recommends the following additional resources for members that wish to pursue additional and/or advanced information on this recipe:
Senior Tech Club Recipes and Nuggets on the Camera and Photos apps:
.












0 Comments