Share Photos with iCloud Photo Sharing

Imagine that you have been taking photos while on vacation with a friend. At the end of the vacation you would like to share the photos taken on your devices. You know that you can share individual photos using text messages, email or Air Drop but dream about being able to share an entire collection or album.
With iCloud Photo Sharing, you can invite others to view and share a collection of photos. You can also make the sharing public by publishing your album to a website for anyone to view.
Turn on iCloud Photo Sharing.
iCloud Photo Sharing works with or without iCloud Photo Library. However, iCloud Photo Sharing must be enabled to share photos.
Turn on by going to Settings, Tap [your name]. Tap iCloud. Tap Photos. Scroll down to find iCloud Photo Sharing and turn on (green.)

Create a Shared Album
- Launch the Photos app.
- Tap Shared at the bottom of the screen, this presents the existing shared albums.

- Tap the Add (+) button at the top left.

- Enter a name for your Shared Album, then tap Next.

- Invite people to subscribe by entering their email addresses or phone numbers. Or tap Add (+) to select people from your contacts, then tap Create.
- A great option in any shared album you create is to allow other people to add photos and videos to your shared album. To enable, tap the album in the Shared Albums list, tap People, then turn on Subscribers Can Post.
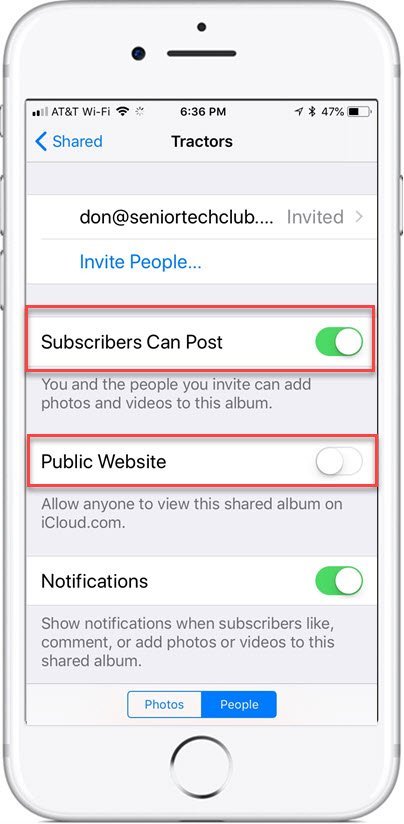
- To make a website of your shared album, turn on Public Website. This will create an Internet URL link/address that can be shared. To send the shared album’s web address to friends, tap Share Link.
Share a Photo or Video
There are two ways to add a photo or video to a shared album. You can start from the shared album and add photos to it. Or you can start from a photo and send a single photo to a shared album. Here are the steps:
Add items to a shared album.
In the Photos app, tap Shared at the bottom of the screen.
Tap a specific album to display.
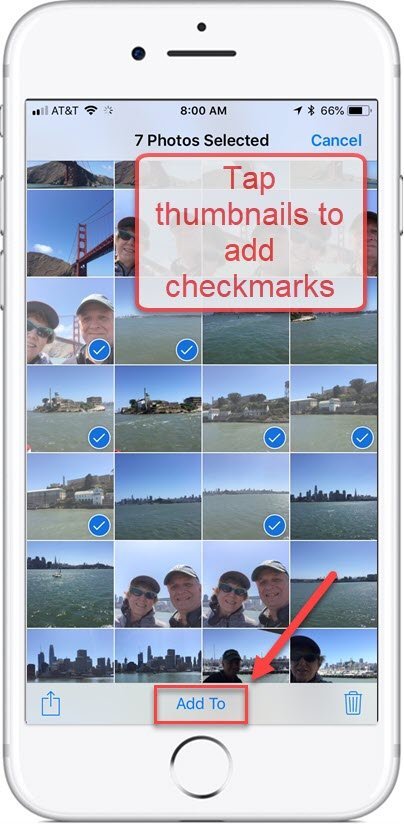
Tap Add (+) , select photos or videos.
Tap Done. You can add a comment, then tap Post.
Add a Single Photo
Display a photo you wish to share.
Tap the Share icon at the bottom of the screen. 
Tap iCloud Photo Sharing.
Pick the Shared Album
Enter an optional comment.
Tap Post.
Delete photos from a shared album.
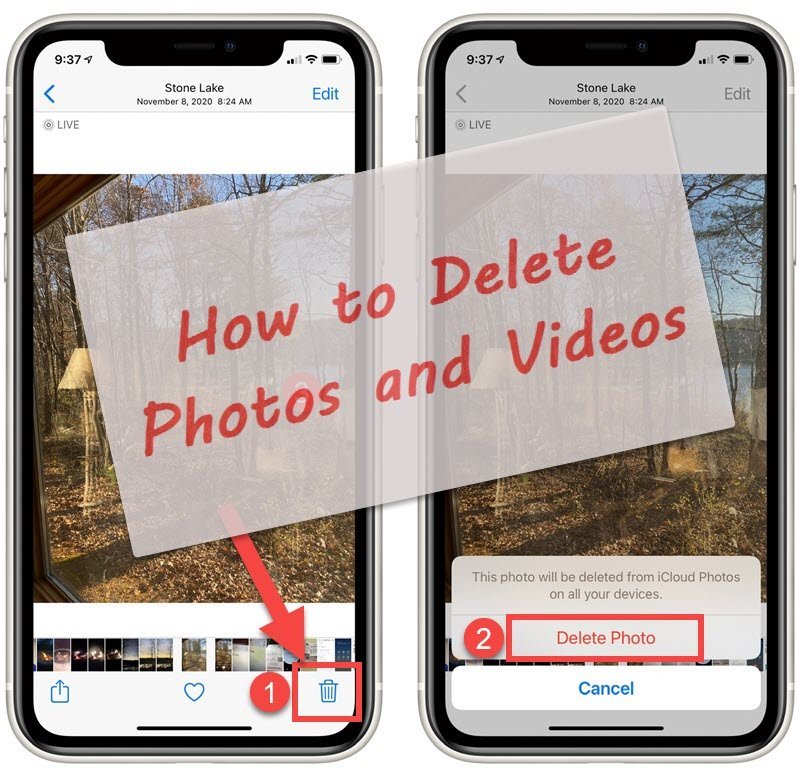
Tap Shared, tap an album, tap Select, select the photos or videos you want to delete, then tap ![]() .
.
When working with Shared Albums. the word delete actually means remove from the folder. If you hit the Trash icon in a Shared Album is only removes the photo from the album. It does not delete from any Photo Library.
If you are the owner/creator of the shared folder you can delete anything in the folder but deleting from the folder does NOT delete from any Photo Library. You would need to delete from the Photo Library to remove from your device.
If you are a subscriber, you can only delete/remove photos that you have added to the Shared Album.
If you Save a photo owned by someone else from a Shared Album (Share, Save Image) The photo will remain on your device after it is removed from a Shared Album.
Modify a shared album.
Select the shared album, then tap People.
From the People screen, you can:
Invite other people and change the other options of an album.
Receive an Invite to a Shared Album
When you receive an invitation, tap the Shared tab then tap Accept. You can also accept an invitation in an email.
Check for Understanding
Use the following questions to determine if you need to read or study this recipe. You might already have an understanding of this topic. Following your study, answer the same questions to help you check your understanding of the skills taught in this lesson.
- Do you know how to create a Shared Album?
- How do you add photos or videos to a Shared Album?
- How do you modify a Shared Album?
Additional Information
The Senior Tech Club recommends the following additional resources for members that wish to pursue additional and/or advanced information on this recipe:
Senior Tech Club Recipes and Nuggets on the Camera and Photos apps:
.











0 Comments