Seven Ways to Release the Camera Shutter
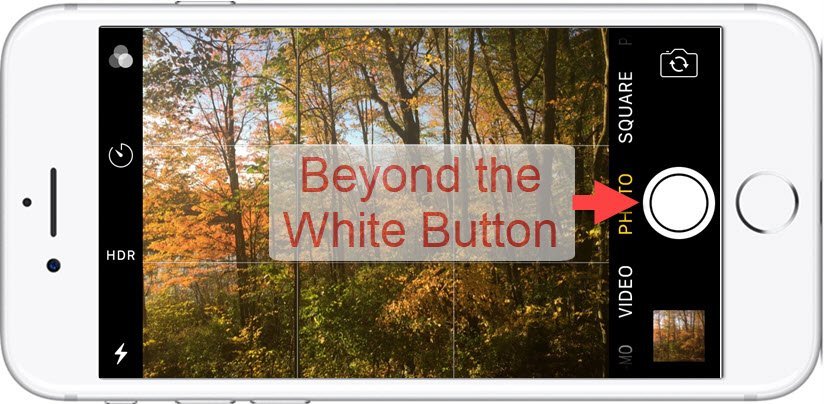
When using the iPhone camera, many people only know about using the circle on the bottom of the iPhone Camera app to take a photo. However, there are more very useful techniques to release the shutter. The other approaches can be more convenient, offer camera stability and provide new functions.
1. Press the Shutter button in the app

2. Press either volume button. This method allows you to hold the iPhone like a traditional point and shoot camera. This also often works better for taking selfies.

With newer iPhones, you can use the Settings app (Settings>Camera>Use Volume Up for Burst) to assign the Volume Up button to the Burst function. This is an alternative to sliding the Shutter button to the left as found on newer iPhones to access the Burst function.
3 Press the volume button on your standard headphones/EarBuds that came with your iPhone. There are a couple of applications where this approach is useful:
- You want to avoid any movement with your iPhone and eliminate camera shake
- You want to hide the fact that you are taking pictures with your iPhone.
- You can take selfies or group photos without holding the iPhone and the restriction of your arm length.
4a. Press and Hold the Shutter – Quick Video On newer iPhones, pressing and holding (long press) the Shutter button will take a video using the Quick Video function. This occurs without changing the Camera mode from Photo to Video, the normal approach to capturing video.
4b. Press and Hold the Shutter – Burst On older iPhones, when the shutter button is pressed and held, the iPhone takes a burst of photos. Recent versions of the iPhone will take around 10 photos per second. You will see a counter indicating the number of photos you have taken.
Burst photos will give you a collection of photos that work great for capturing live action where you want to capture one good image from a moving subject. Or consider using bursts for group photos where you want to get everyone with their eyes open. See How to View and Manage Burst Photos below for information on viewing burst collections.
4c. Press and Slide Shutter Left – Burst On newer iPhones take a burst of photos by sliding the Shutter button to the left and holding. You will see a counter indicating the number of photos. Release your finger when finished.

5. Set a timer. The Time function will allow you to use a 3 or 10 second delay in taking your photo. This is perfect for taking a family photo that includes you in the shot. Use the Time icon.
On newer iPhones, Tap ![]() to access the hidden drawer, tap Timer
to access the hidden drawer, tap Timer ![]() .
.
On older iPhones, the Timer icon on the upper right of the camera screen

- Select either 3s or 10s for seconds
- Release the shutter with the shutter or volume button
- A burst shot of ten pictures will be taken in either 3 or 10 seconds.
6. Apple Watch – Owners of an Apple Watch can use the watch as a remote viewfinder and shutter release. On the Apple Watch the app is called Camera Remote and can be accessed from your app list accessed by pressing the Crown one time.
7. Use an accessory. There are many accessories that can also be used to release the shutter this includes selfie sticks and Bluetooth devices. Here are two examples
- Bluetooth shutter remote control buttons that can be purchased for under $10 that will allow you to place your camera on a tripod and take family group pictures that include you. This approach doesn’t require a camera.

- Bluetooth Remote Shutter Control
- Selfie Stick that either plugs into your iPhone or uses Bluetooth to release the shutter.

Selfie Stick
 Smart Tip: Be Prepared
Knowing the quickest way to access your camera and your options to release the shutter prepares you to be able to capture that once-in-a-lifetime photo.
Additional Information
The Senior Tech Club recommends the following additional resources for members that wish to pursue additional and/or advanced information on this recipe:
Senior Tech Club Recipes and Nuggets on the Camera and Photos apps:
.


